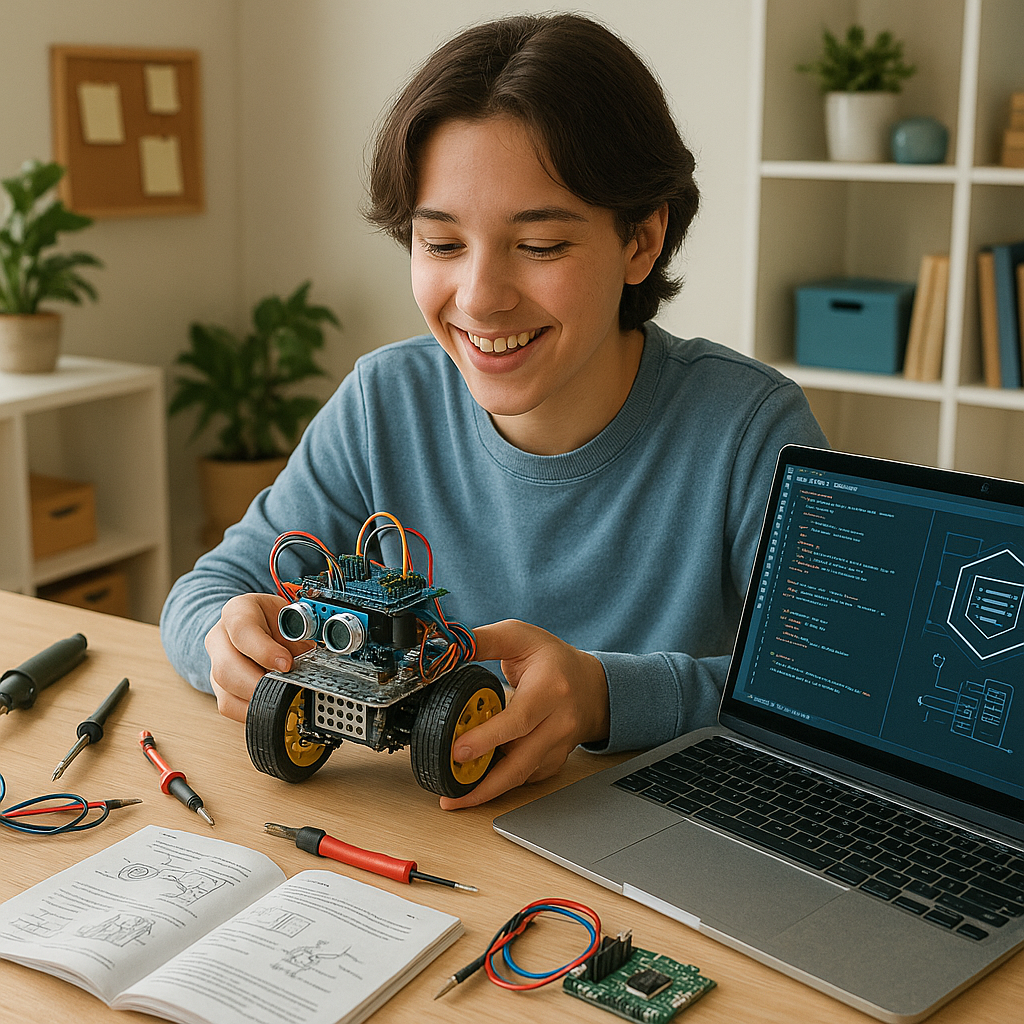
Ever wondered about creating your own robot but weren’t sure how to start? Here’s some good news – you don’t need an engineering degree to begin. With the right equipment and direction, you can build a basic robot at home. This guide will take you through the fundamentals in an easy and enjoyable way, whether you’re just curious or a tech enthusiast.
🧭 Step 1: Choose Your Robot Type
Before you start, consider what you want your robot to do. This will help you select the appropriate parts and tools.
Ask yourself:
- Should it be able to move around like a car or robot pet?
- Should it be able to detect obstacles, follow lines, or react to sound?
- Should it do something practical or just be for fun?
Beginning with a clear concept will help you save time and make the building process easier.
🔌 Step 2: Understand the Basic Components of a Robot
All simple robots have a few common parts:
- Microcontroller – This acts as the brain of your robot (Arduino or Raspberry Pi are common picks).
- Motors and wheels – These help the robot move around.
- Sensors – These pick up light, distance, sound, or motion.
- Power source – This is a rechargeable battery.
- Wires and connectors – These link all the parts together.
- Chassis or body – This houses all the components.
You can purchase a robot starter kit online that includes all these parts, which works well for beginners.
💻 Step 3: Get to Grips with Basic Coding
Your robot needs directions to operate — this is where programming plays a role. Don’t stress, you don’t have to be a coding pro.
- Use Arduino IDE with an Arduino board.
- Use Python with a Raspberry Pi.
- Find starter guides or example codes to try and adjust.
Begin with basic instructions like “go forward,” “rotate,” or “halt when you detect an object.”
🛠️ Step 4: Assemble Your Robot Piece by Piece
Now that you’ve got your components and a blueprint, it’s time to put your robot together.
Here’s how to kick things off:
- Put your microcontroller on the robot frame.
- Hook up the motors and wheels.
- Place the sensors where they can spot things .
- Link the parts to the microcontroller with wires.
- Load your code and give it a try!
Check your connections twice to avoid damaging anything.
🧪 Step 5: Try It Out, Adjust, and Get Better
After you’ve built your robot, test it out! Don’t lose heart if something doesn’t work.
- Look over your wiring.
- Go through your code to find mistakes.
- Make small changes and test again.
You learn from every mistake, and you’ll improve with each attempt.
💡 Easy Robot Ideas to Get You Started
Not sure what to build first? Give one of these simple projects a try:
- 🚗 A line-following robot that tracks a black tape path.
- 🛑 An obstacle-avoiding robot that steers clear of walls.
- 🕹️ A remote-controlled car using Bluetooth or Wi-Fi.
- ✋ A basic robotic arm to pick up small objects.
These projects are easy for beginners and enjoyable to create.
